Setting up a Promotional Campaign
You can now setup promotional campaigns on your website. This allows you to advertise promotions to your customers. They can then enter a discount code in the checkout for their tyres or service. To add this feature you will need to contact a member of our support team.
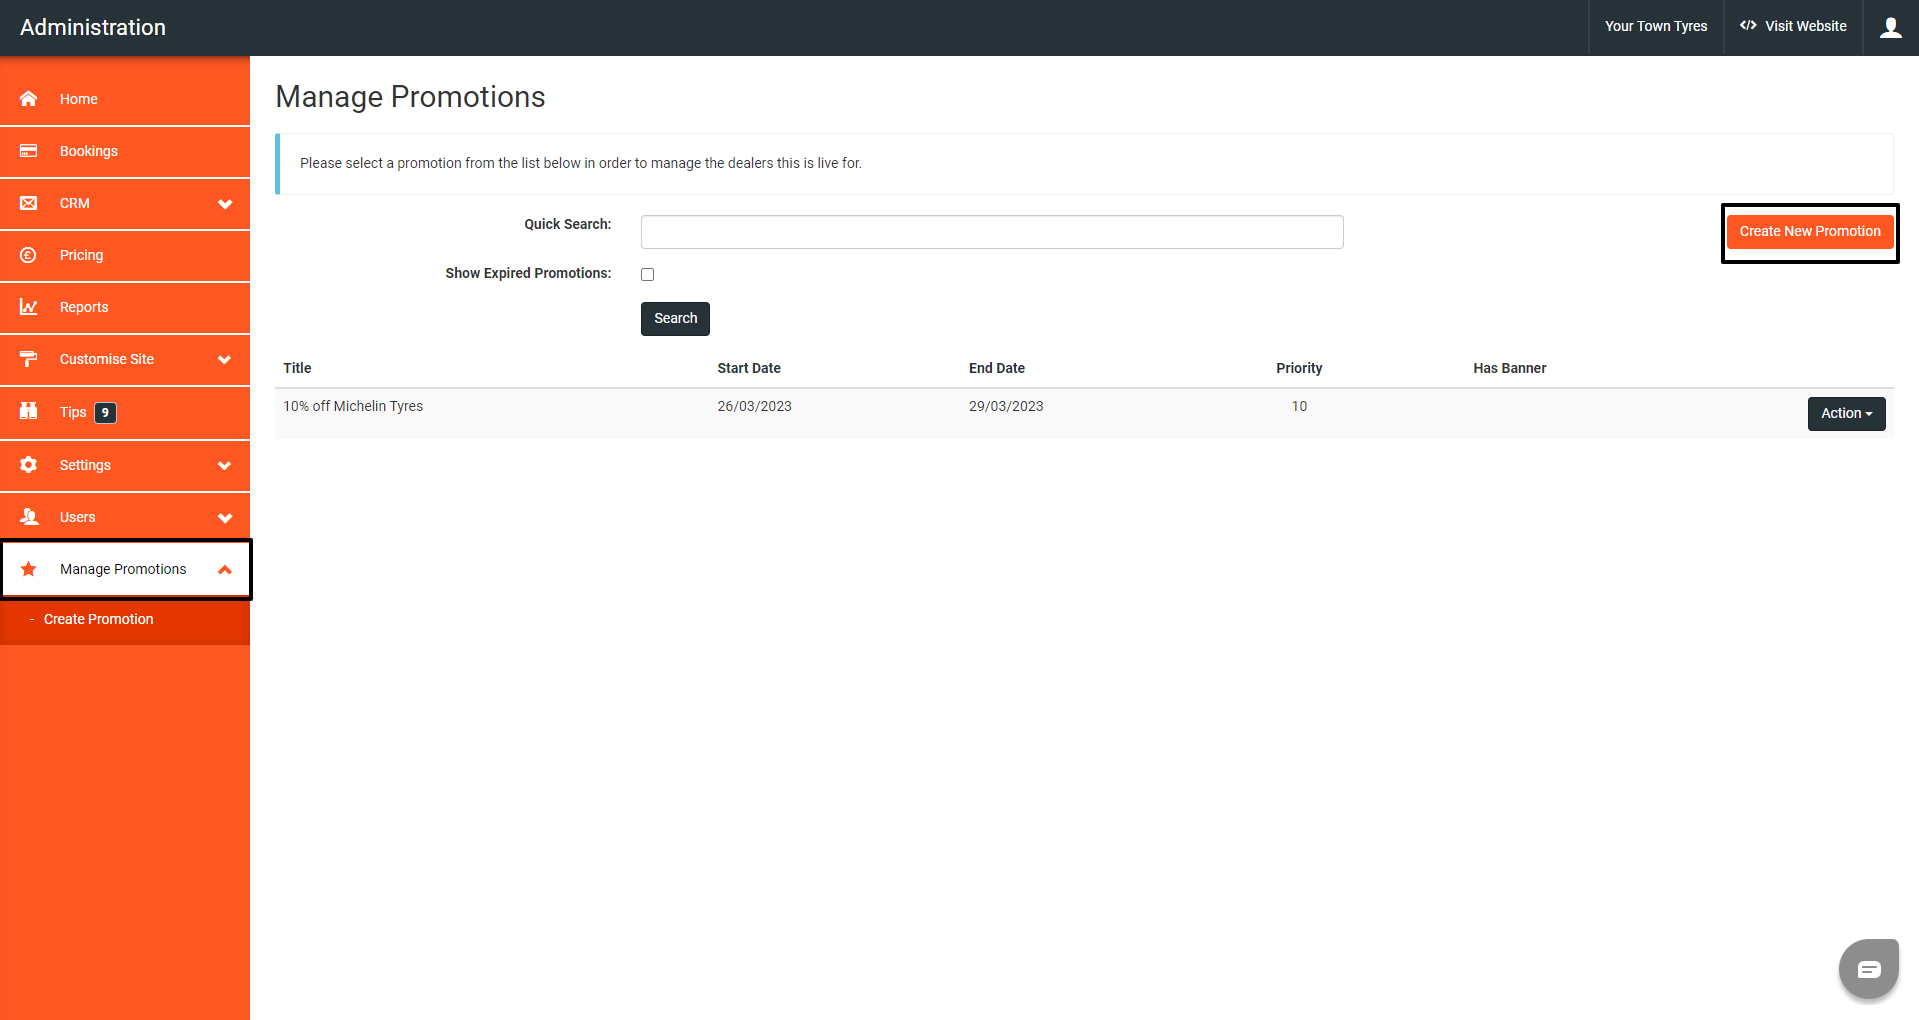
To get to your promotional campaigns, go in your admin and go to Manage promotions.
To create a new promotion, click create new promotion.
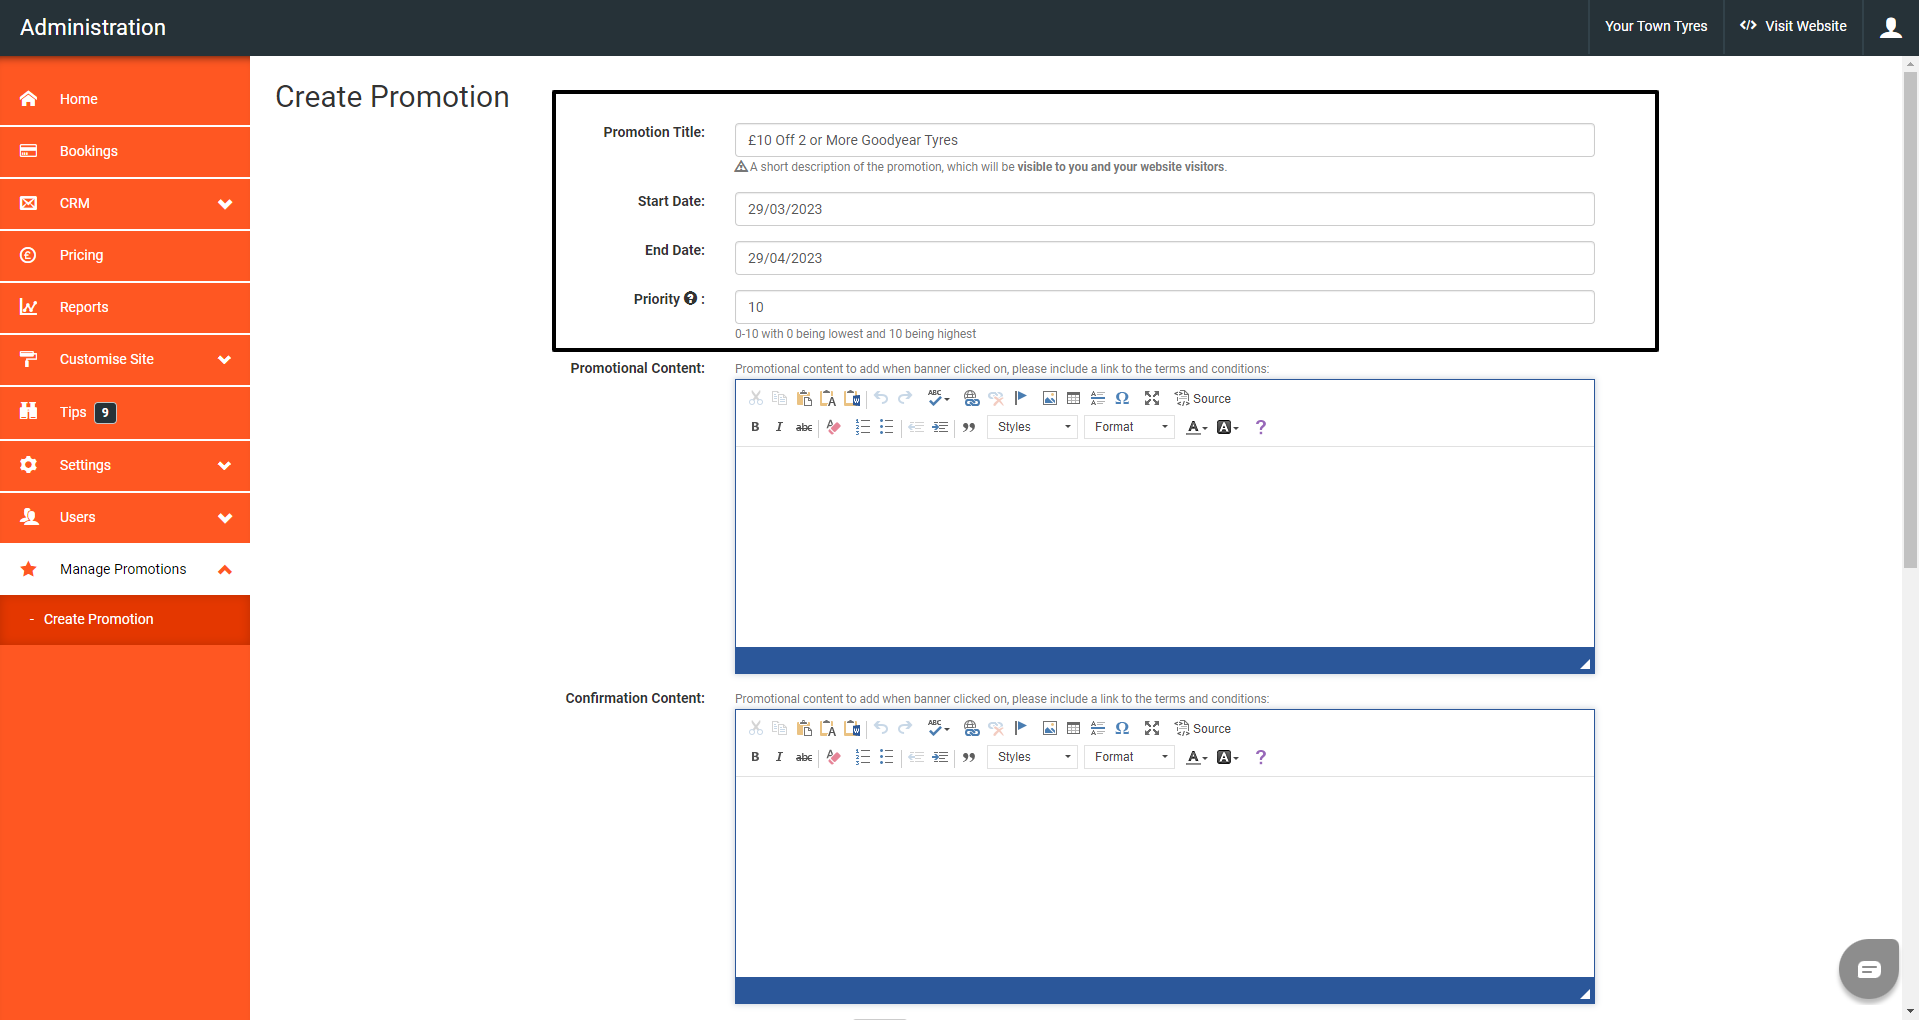
The first thing you need to do when creating you campaign is give your promotion a title.
This should be a short description of what of what the promotion is.
For this example, we will put in ‘£10 Off 2 or More Goodyear Tyres’.
Next, enter your start and end date.
You can then enter the campaign priority. The priority determines which promotion will display on a particular product. If multiple promotion rules apply to the same product then the promotion with the highest priority value will display.
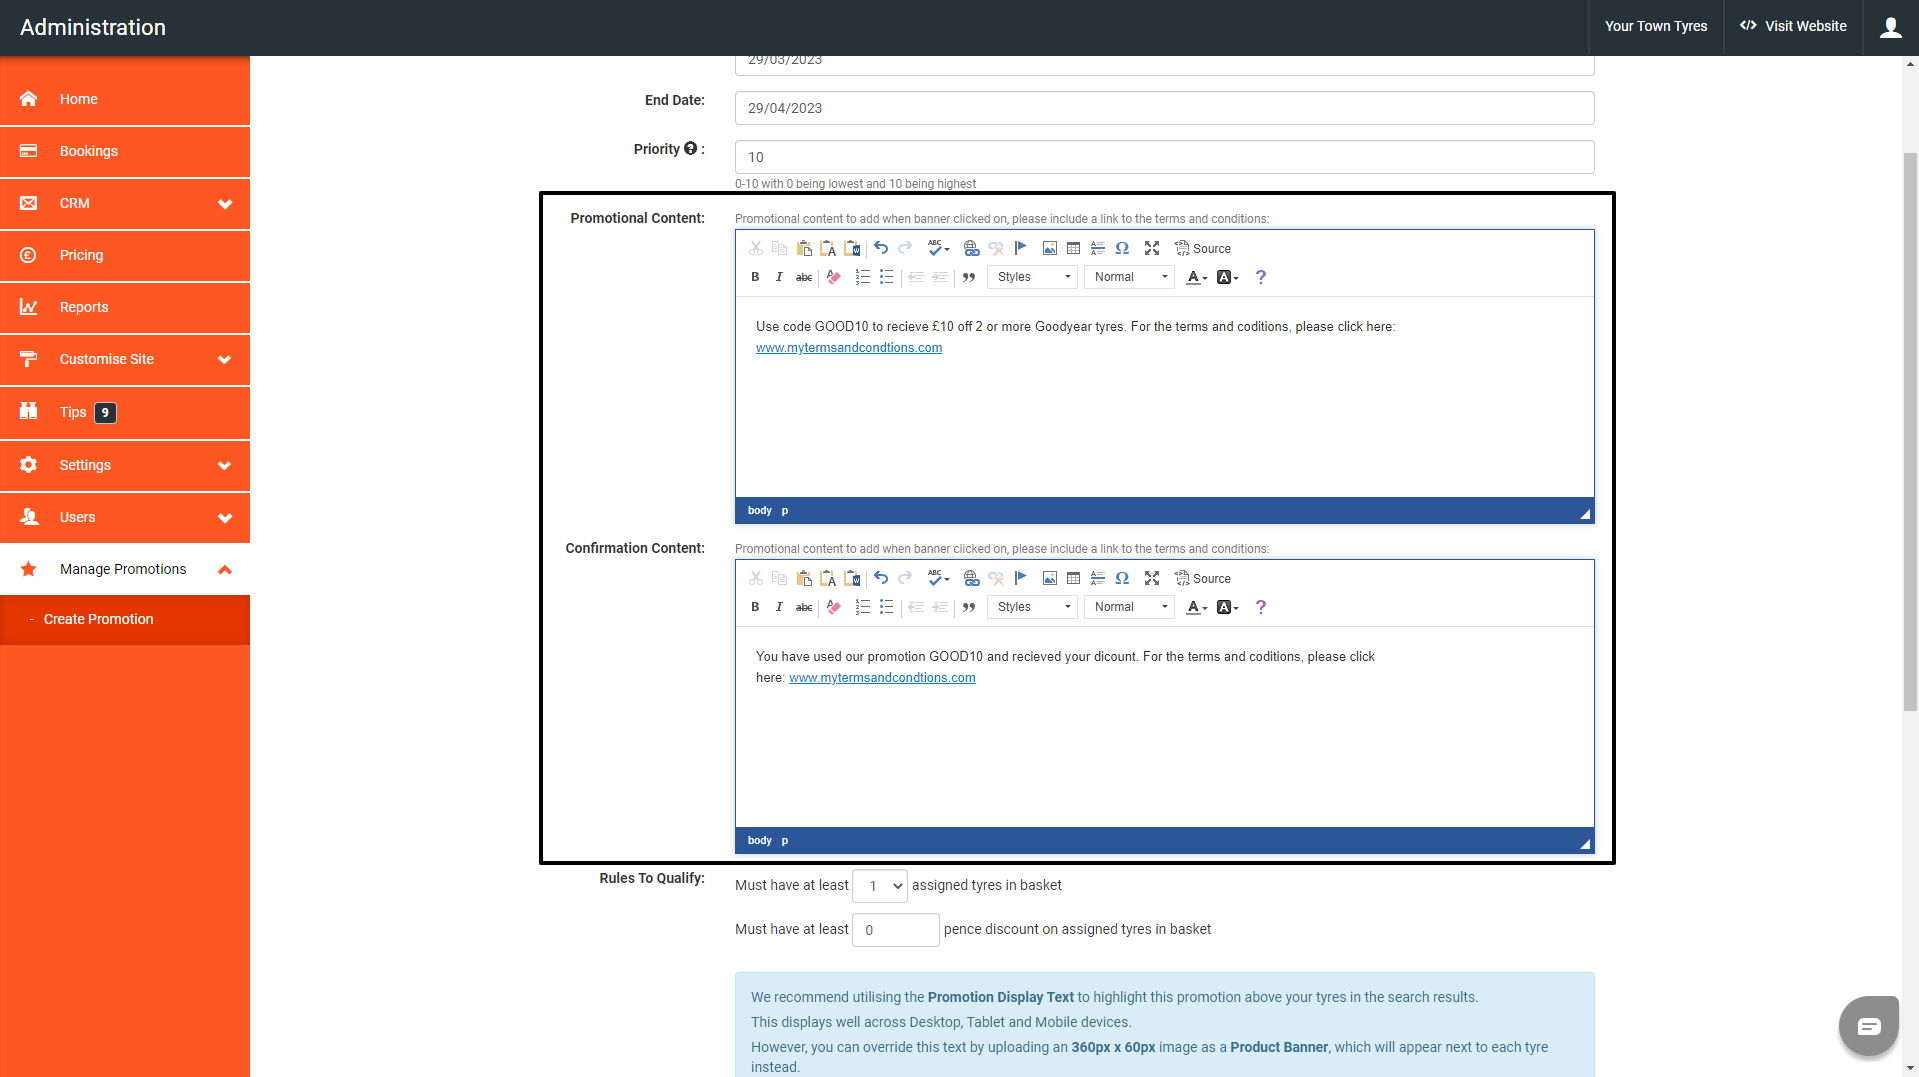
Then you have your promotional content and confirmation content. The promotional content is what will display when a banner is clicked, and the confirmation content is what will display in the confirmation email once the customer has placed the order.
Your term’s and condition’s will need to be added to both these sections.
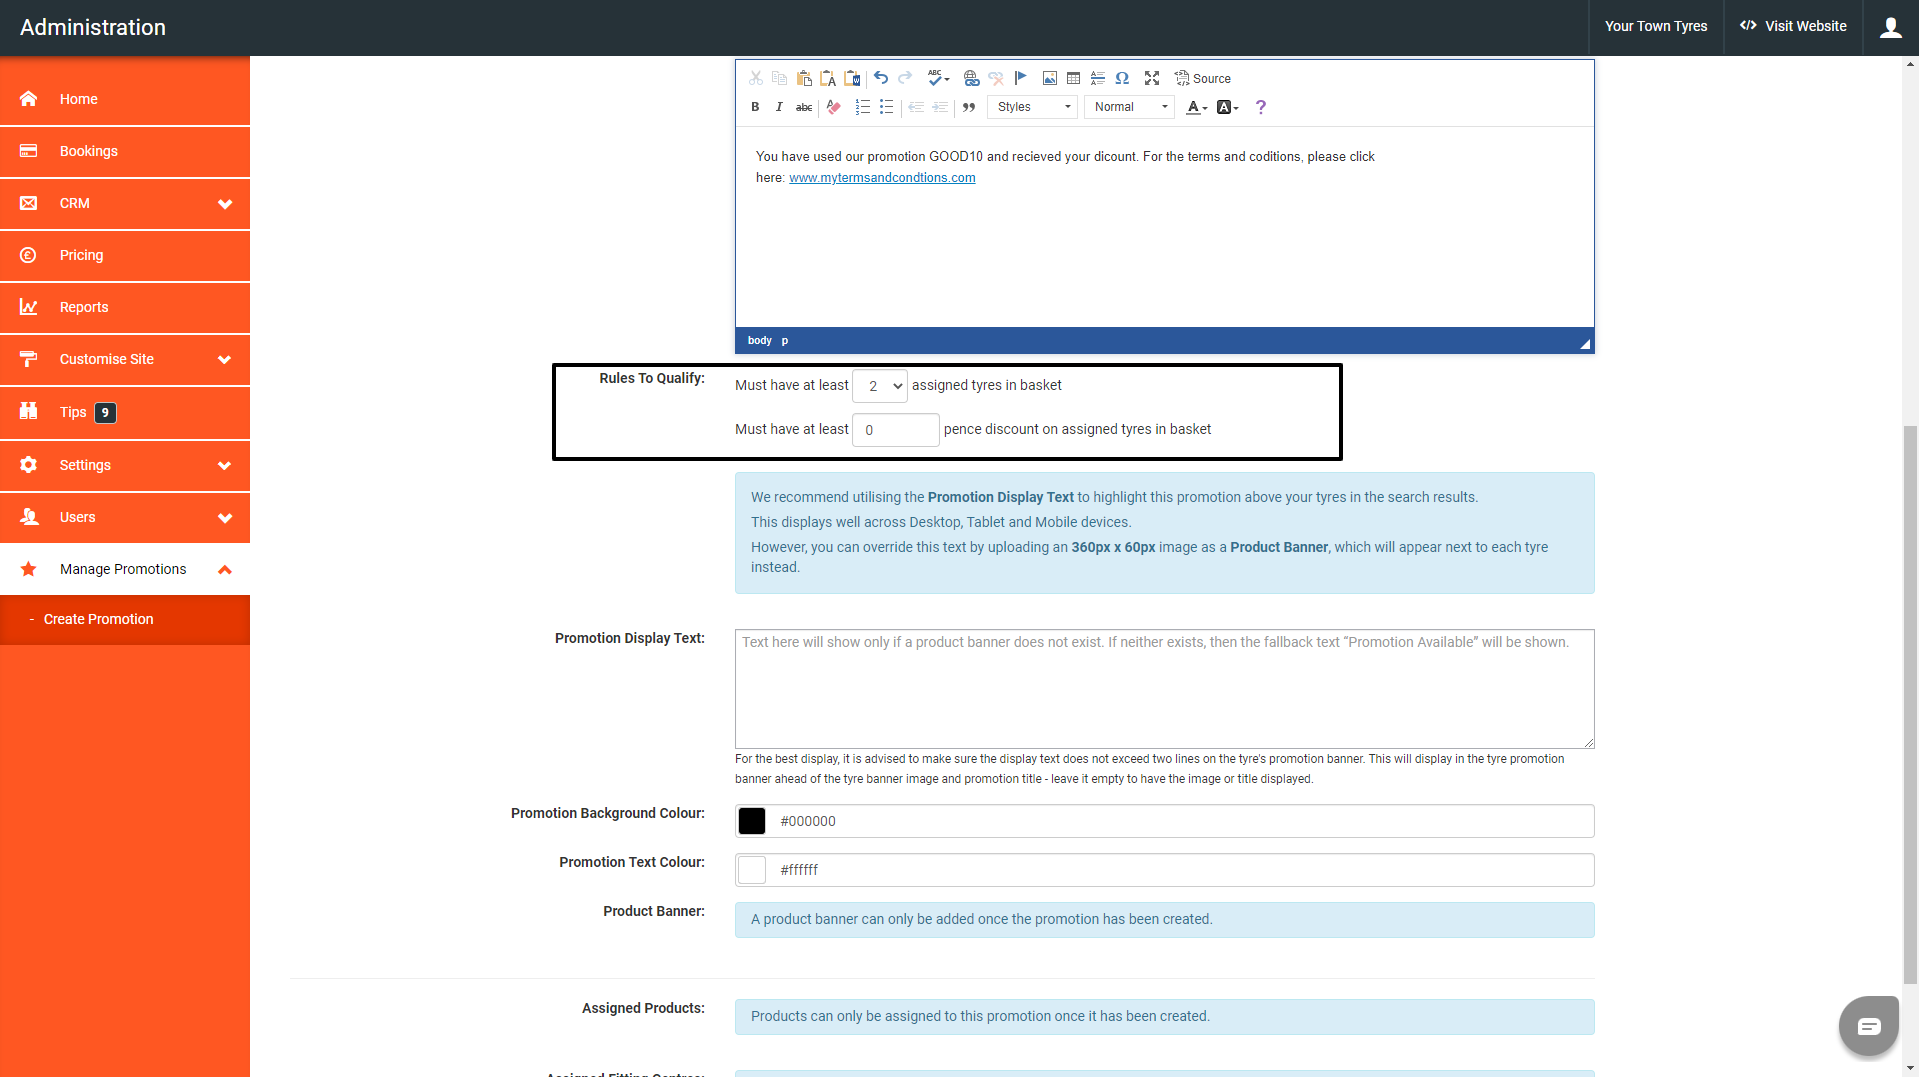
Next, add your rules to qualify. For this promotion, as it’s £10 off 2 or more tyres, we would add ‘Must have at least 2 assigned tyres in the basket’.
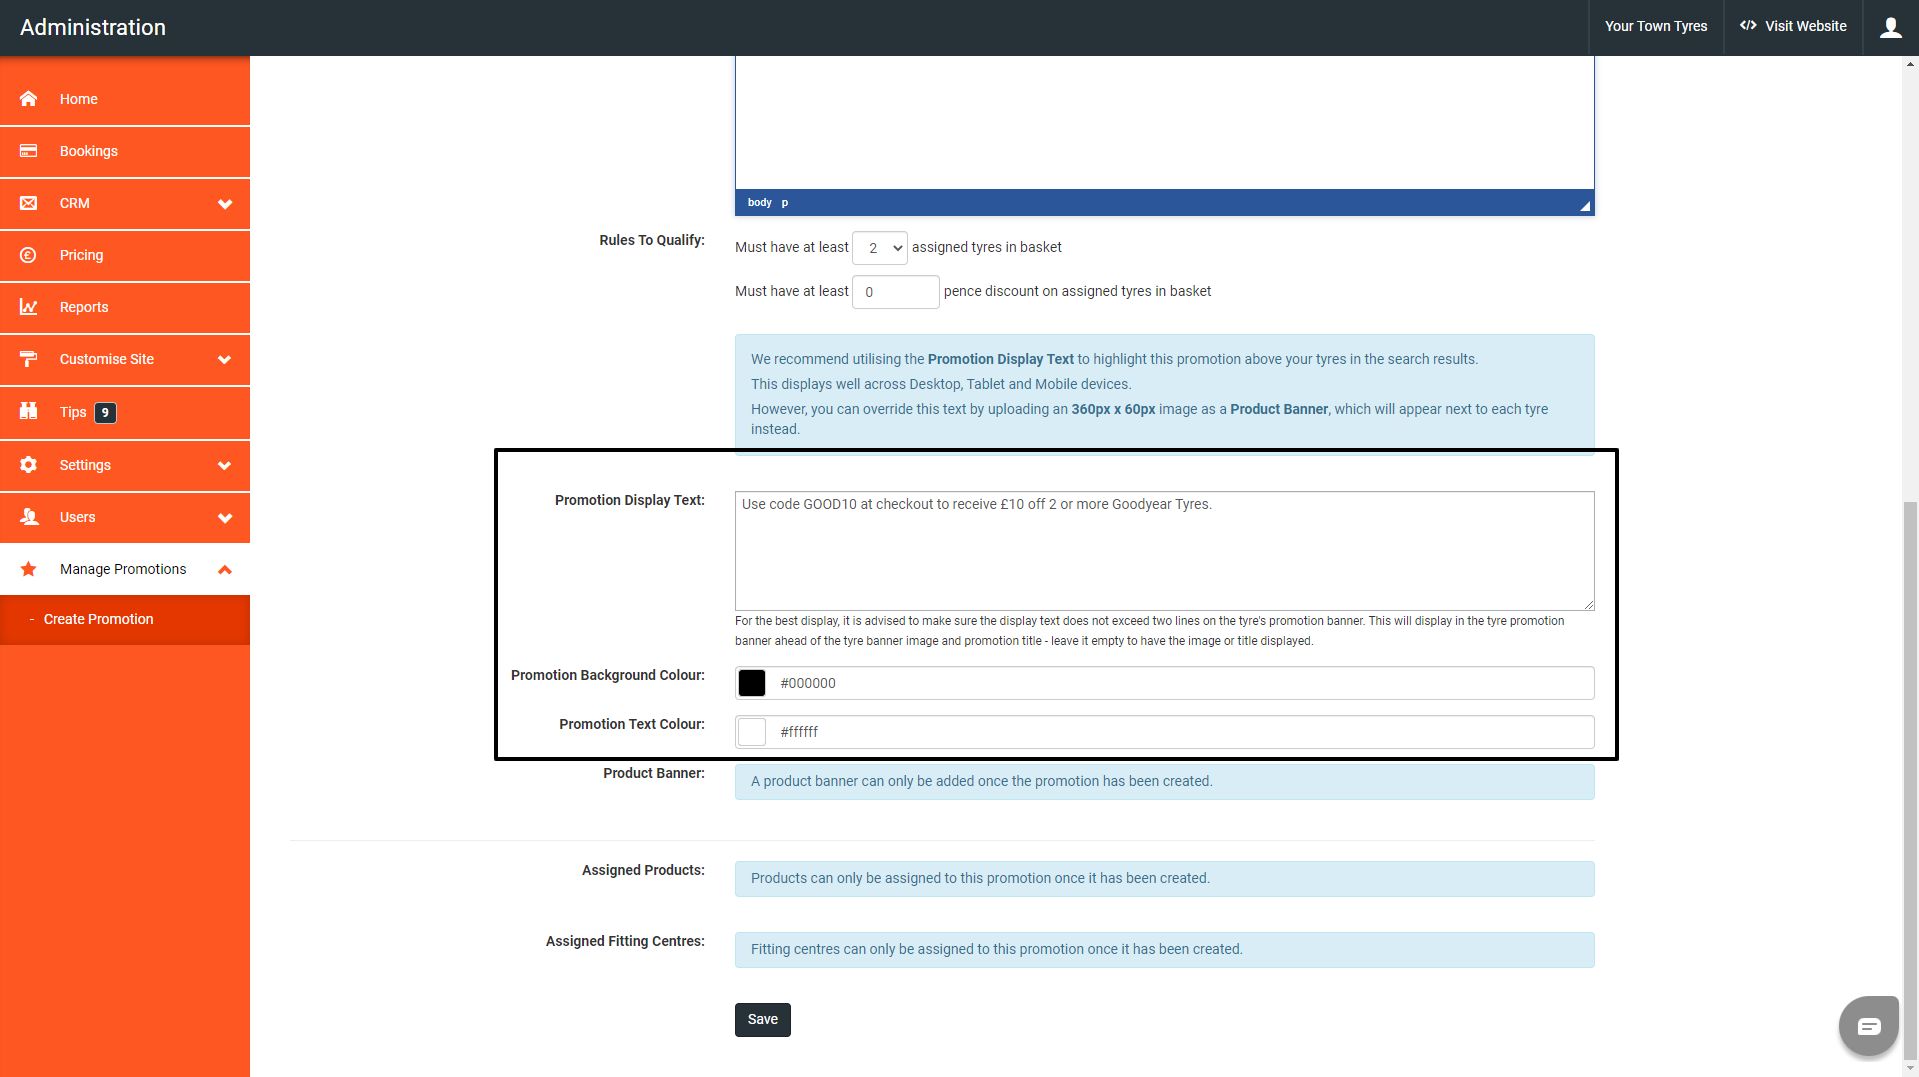
Then you can either add promotion display text or a promotional banner. These will appear above each tyre that the campaign is applicable to.
For display text, enter what you would like the banner to say. For this example, I will write “£10 off 2 or more Goodyear tyres with code Good10”.
You can then select the background and font colour for the text display.
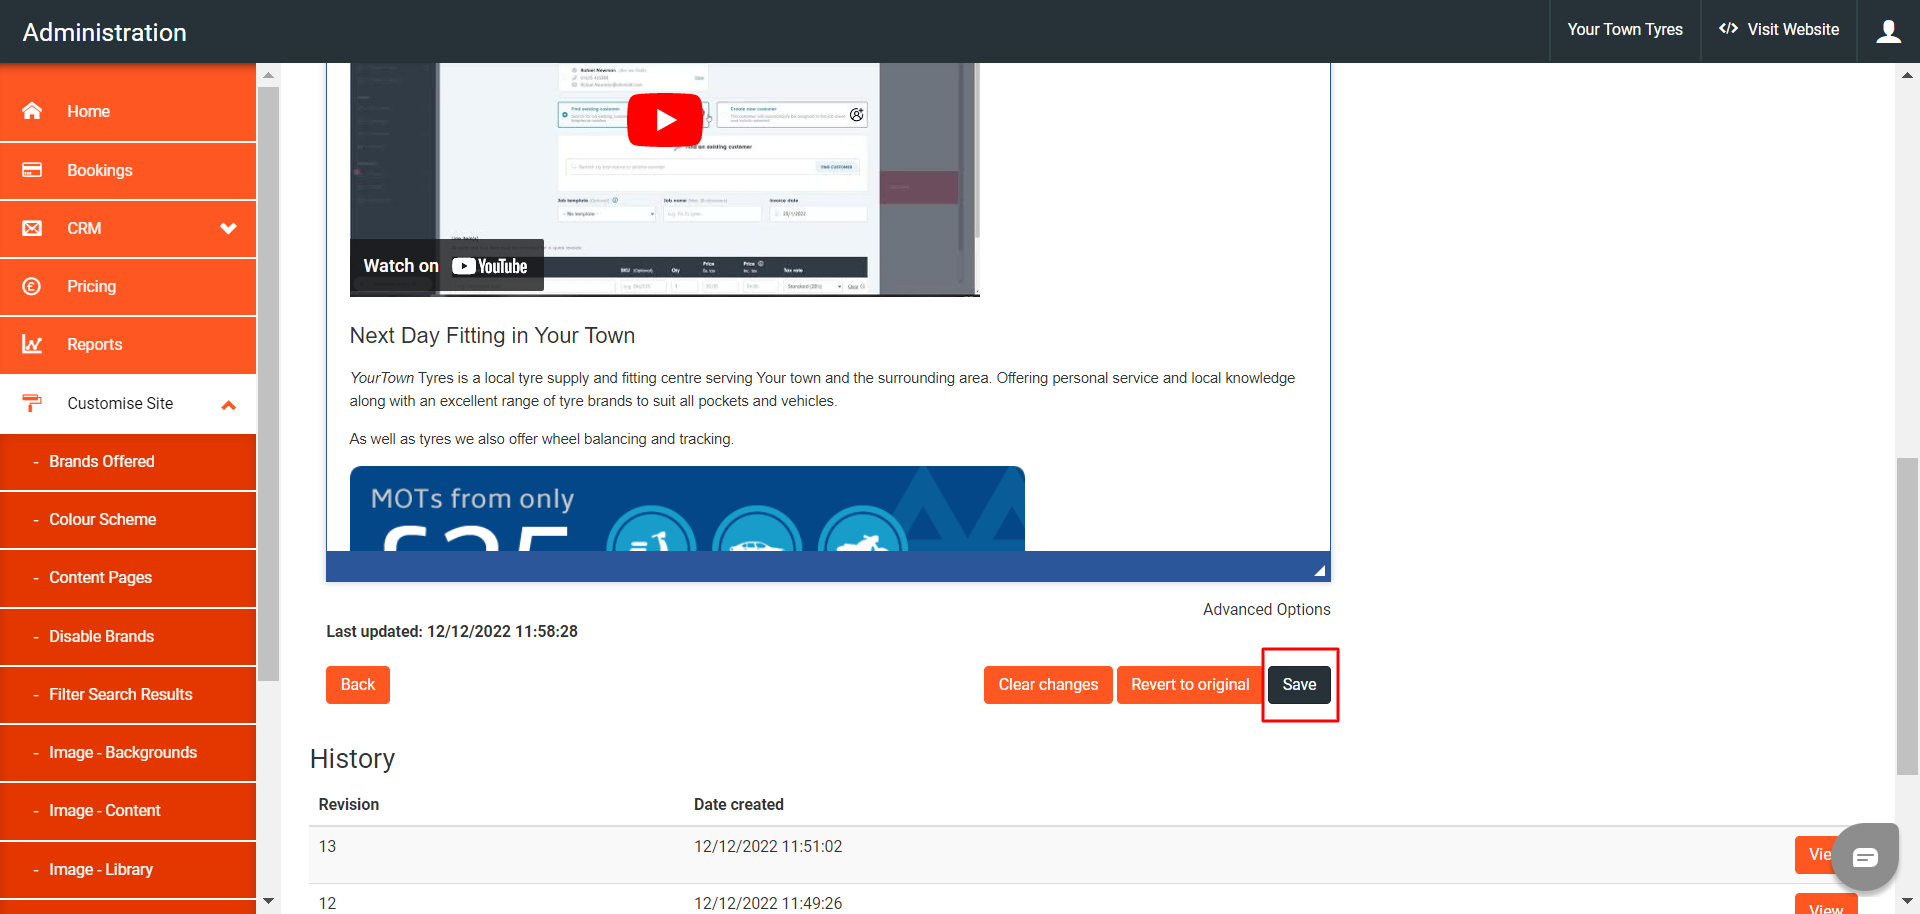
Before you can make anymore changes, you need to save your campaign.
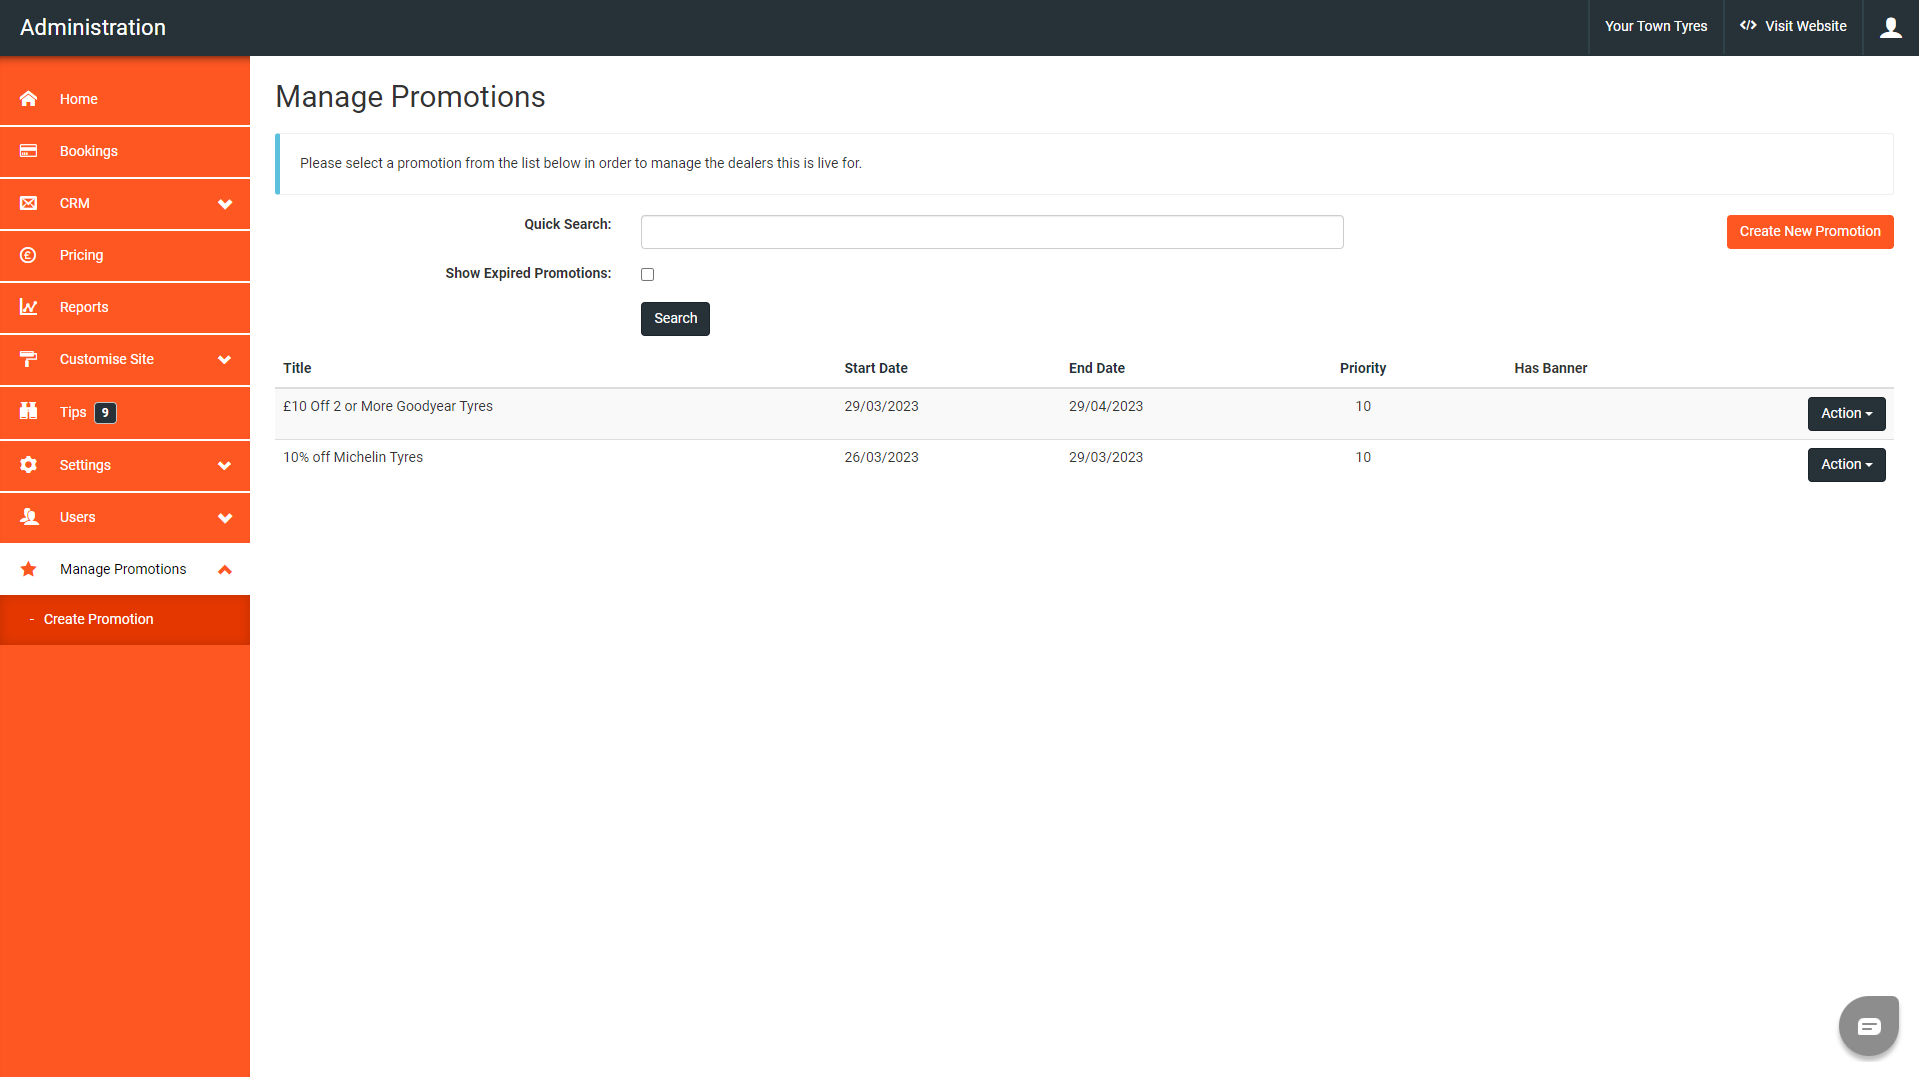
Now you have saved your campaign, you can see it displayed here.
To finish setting up your promotion, click Action > Edit Promotion.
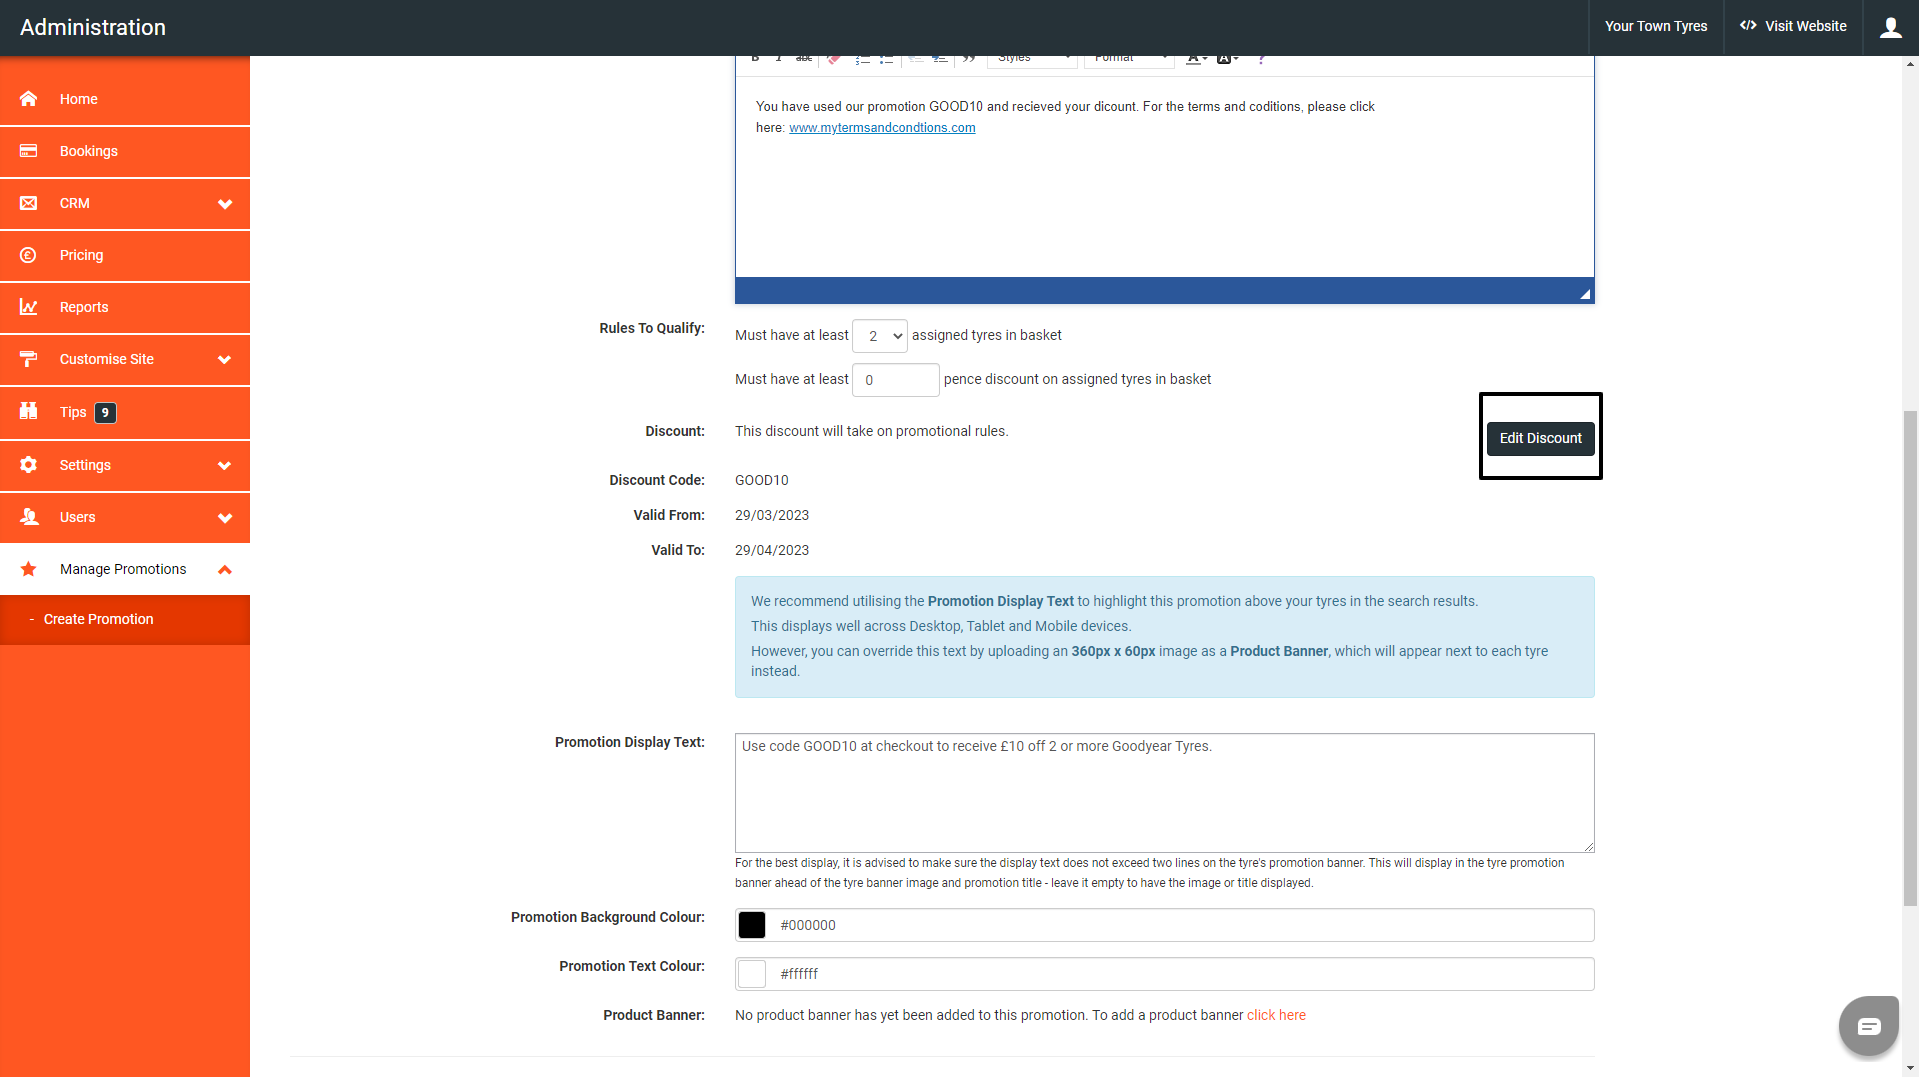
Now, scroll down to the ‘Discount’ section. Here you will link a discount to the campaign.
To do this, click the Add Discount button.
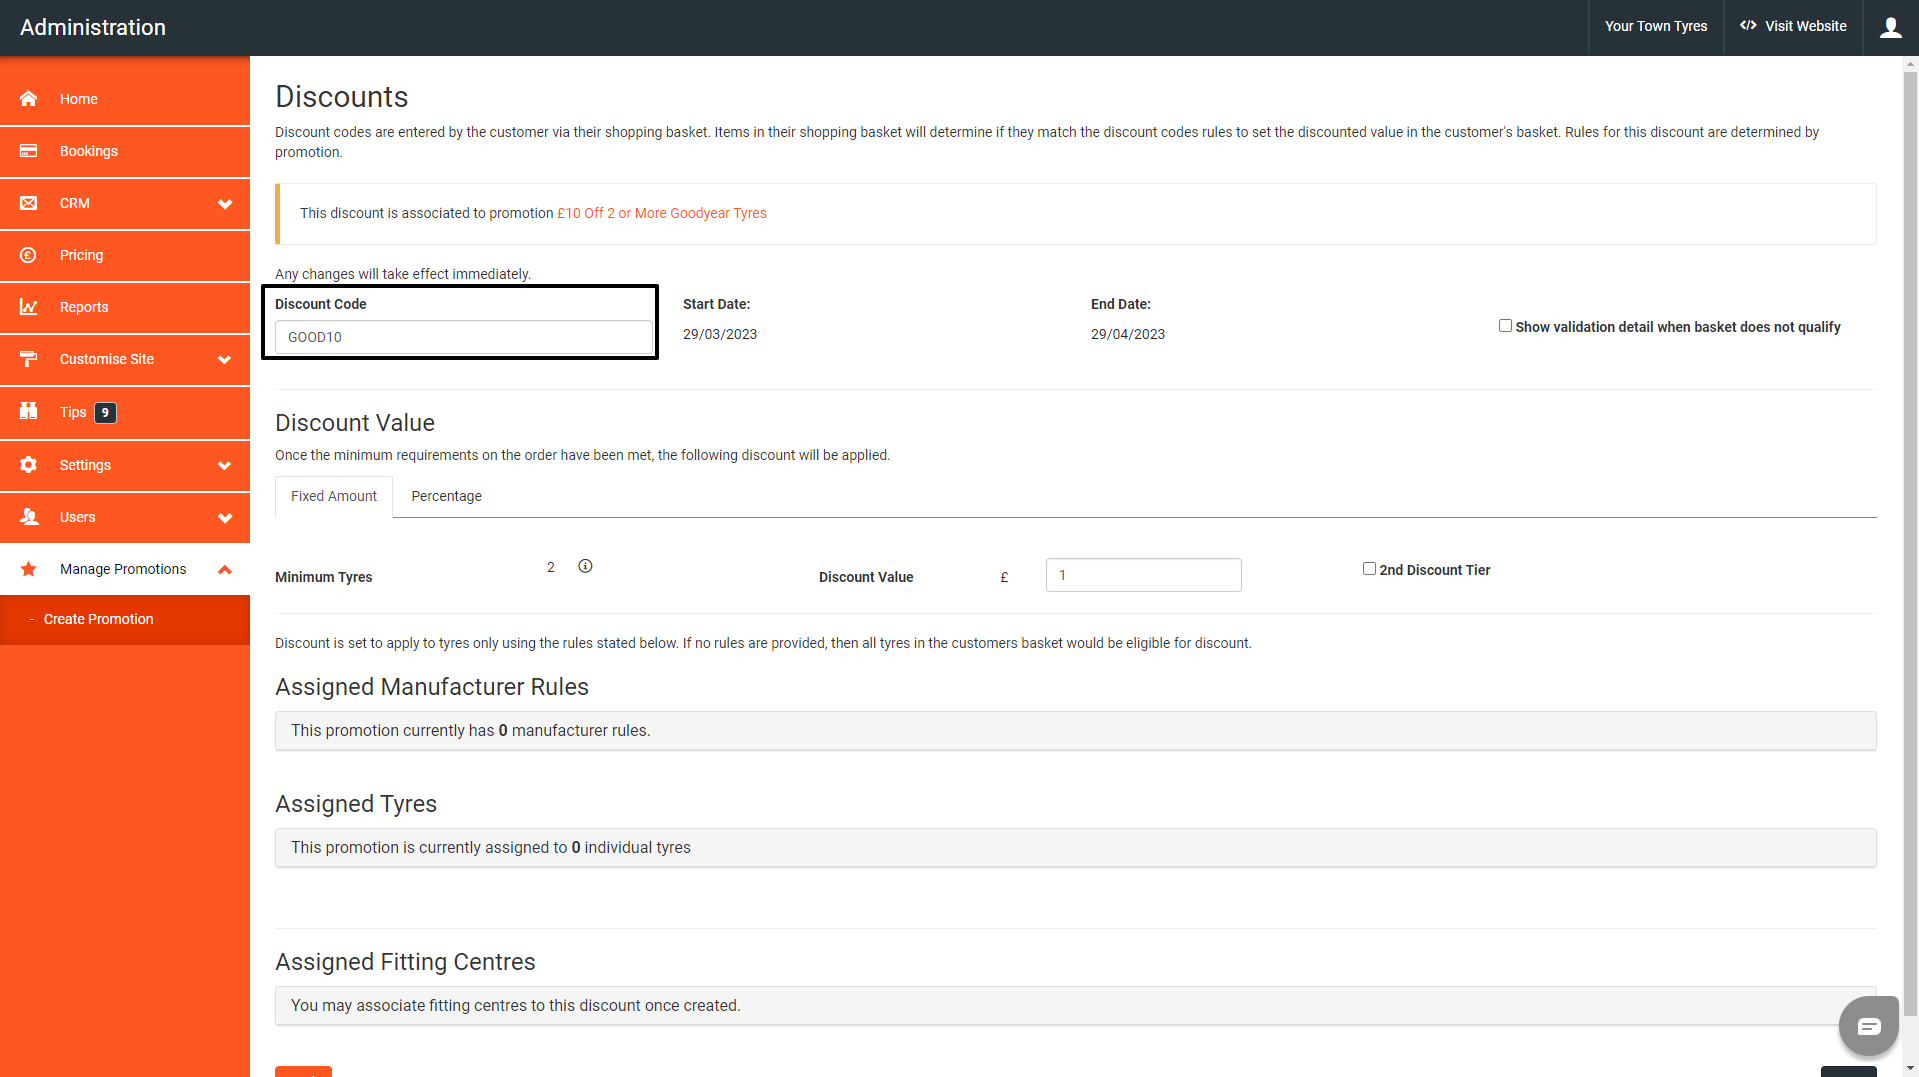
Next, add the discount code for your campaign. For this example, we would add GOOD10.
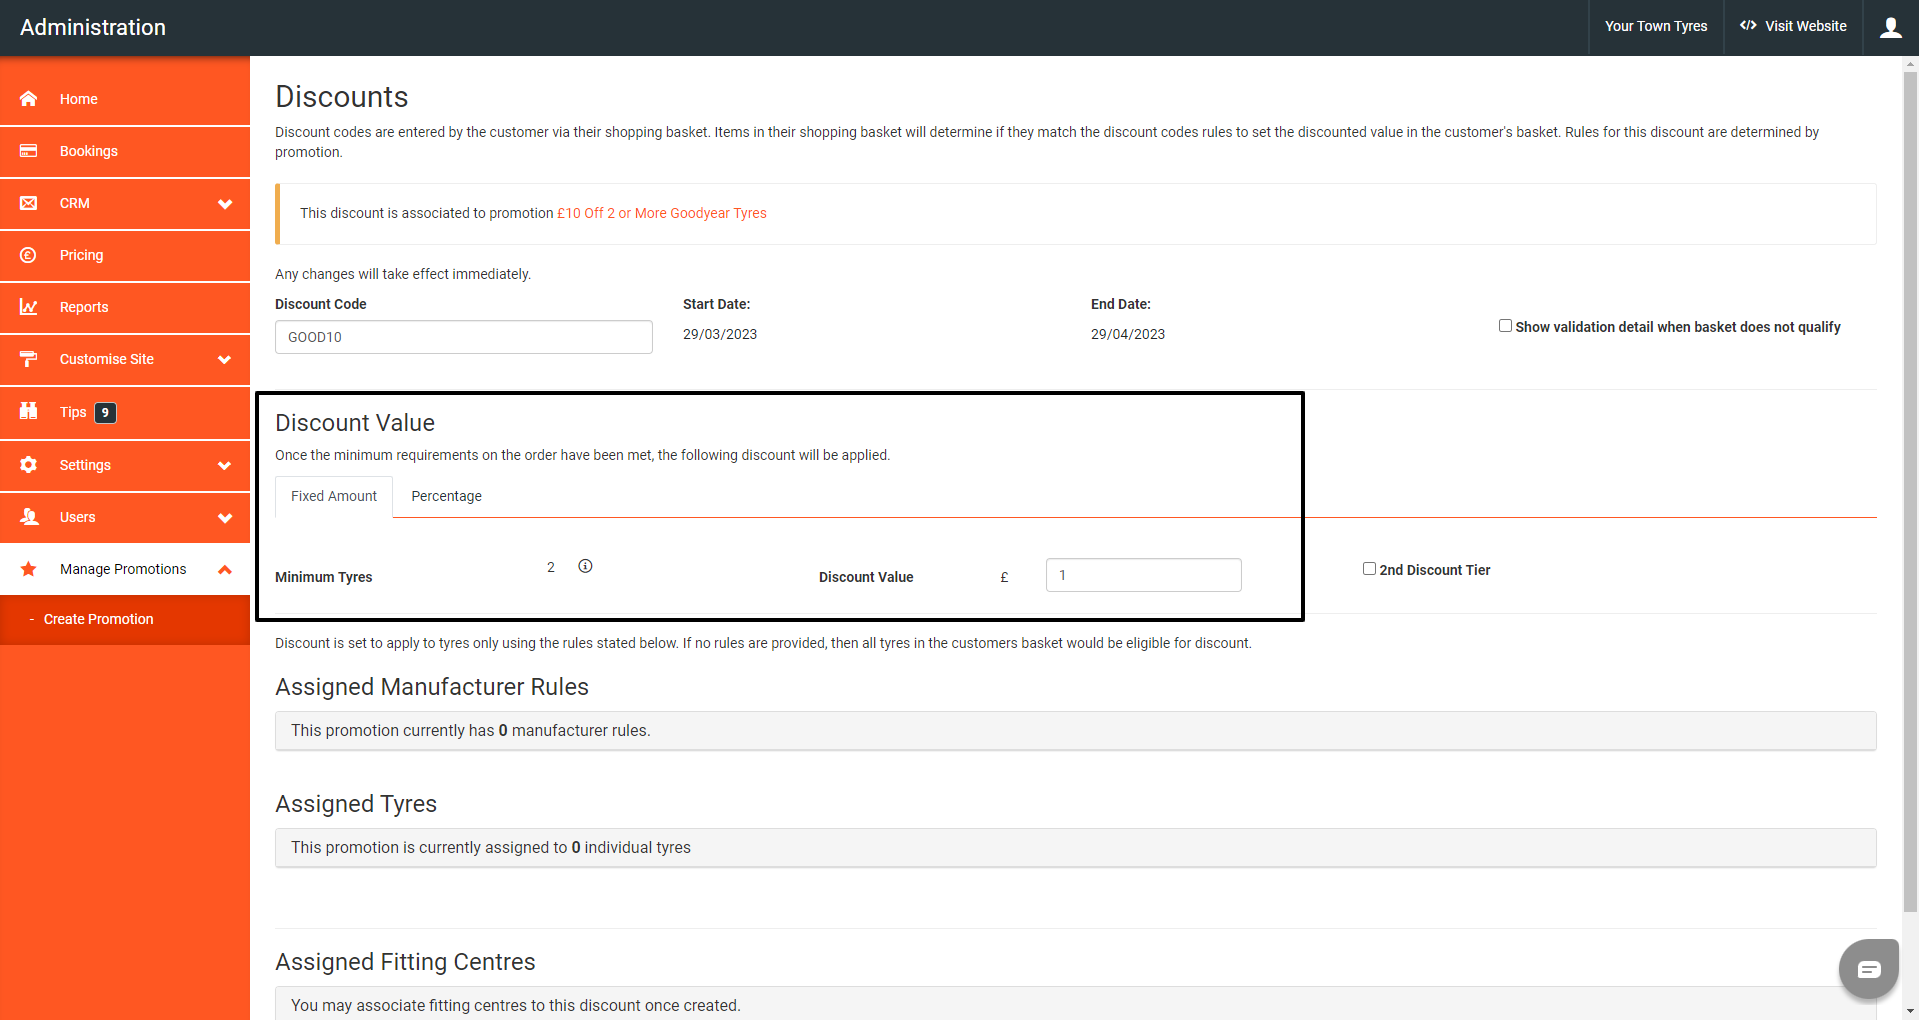
Then go to the discount value section.
First, click on weather you want to add a fixed amount or percentage discount. For this example, we would click fixed amount and then add a discount value of £10.
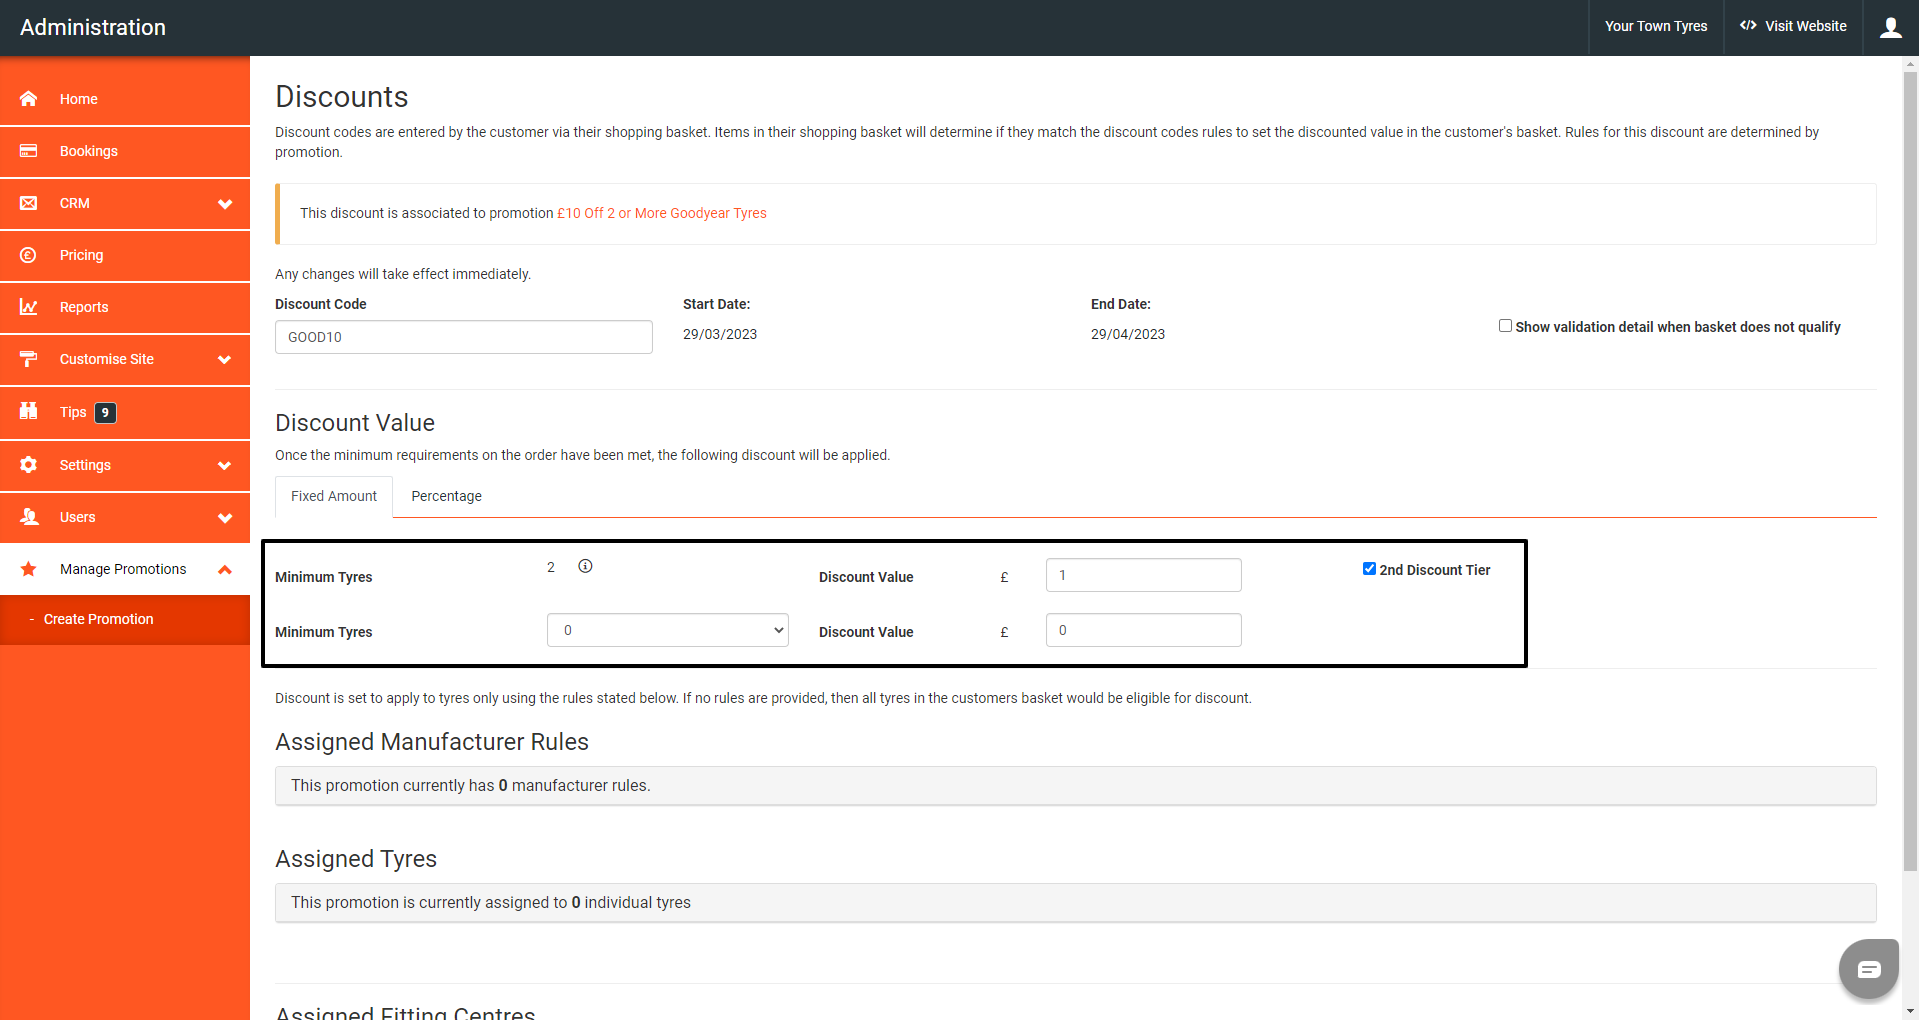
We do have an option to create a 2-tiered discount. This allows you to create 2 offers with the same discount code.
For example, you could have £10 off 2 or more tyres, then £20 off 4 or more tyres.
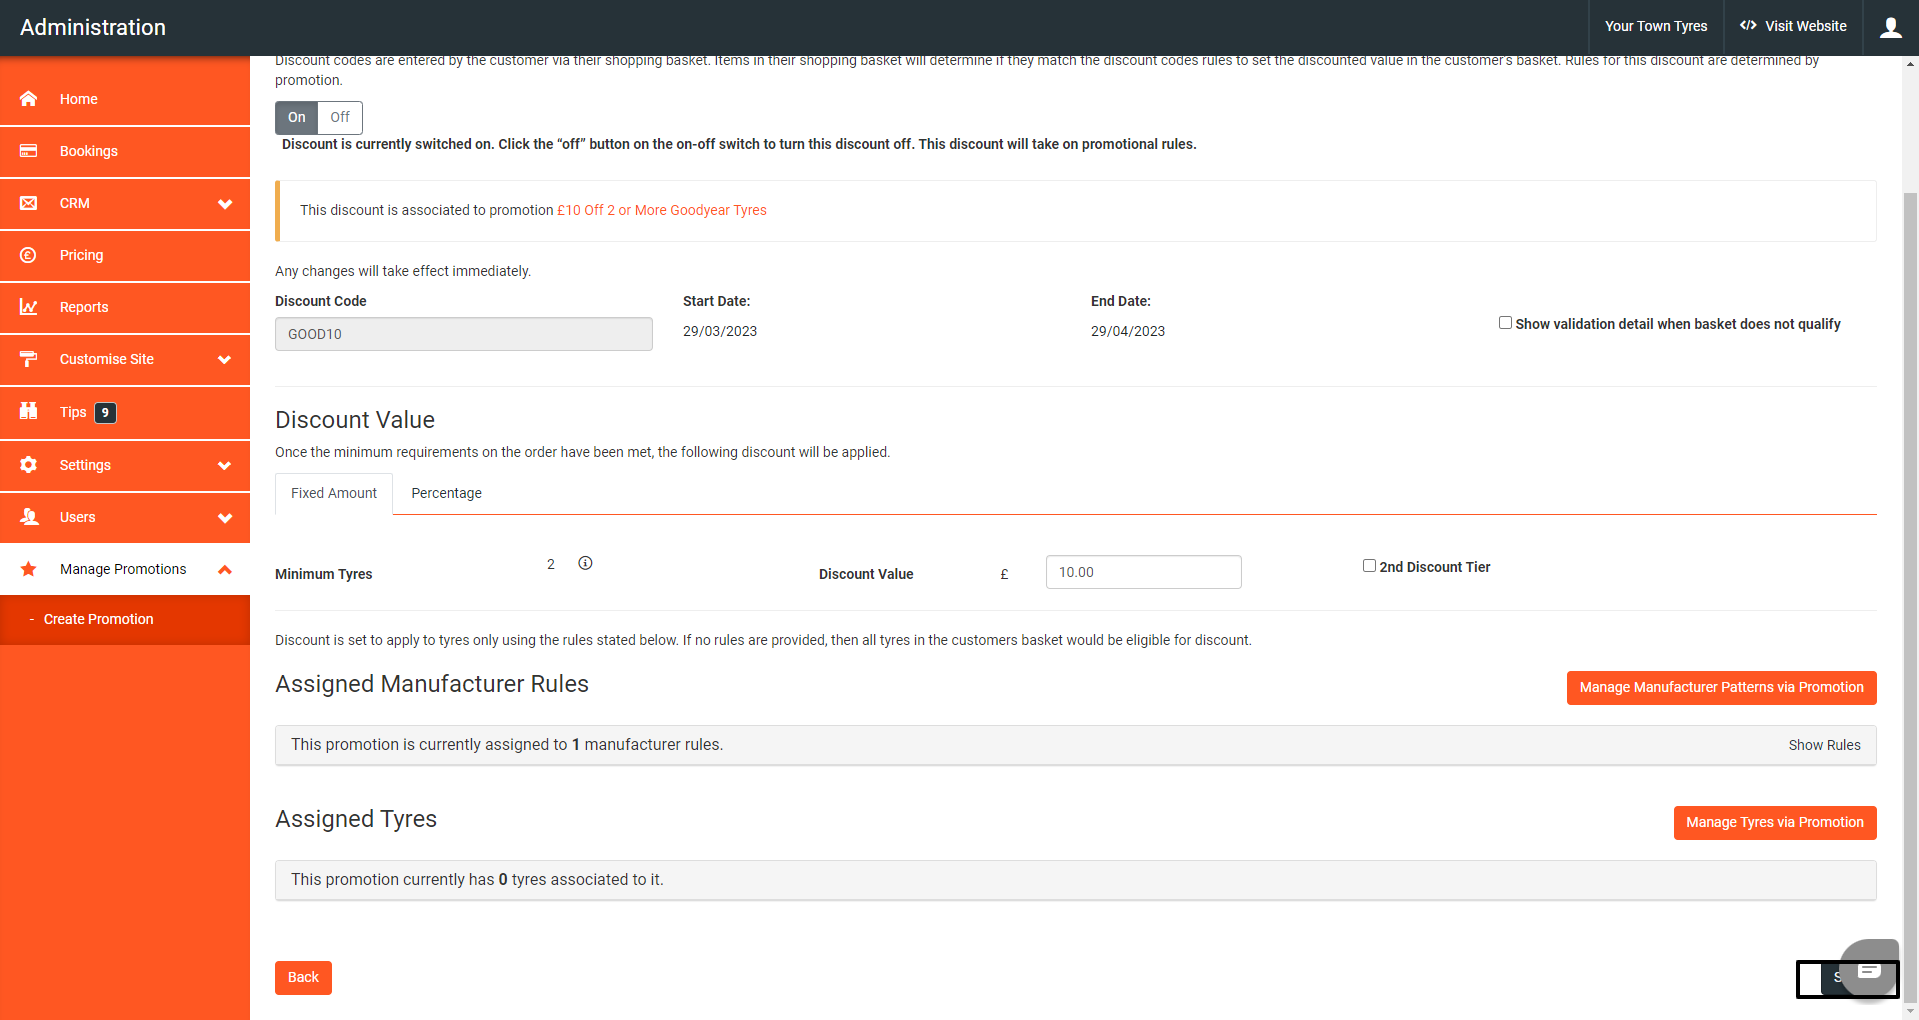
Then you need to click save. This will return to the campaign page.

You need to go back to the discount section and click edit discount.
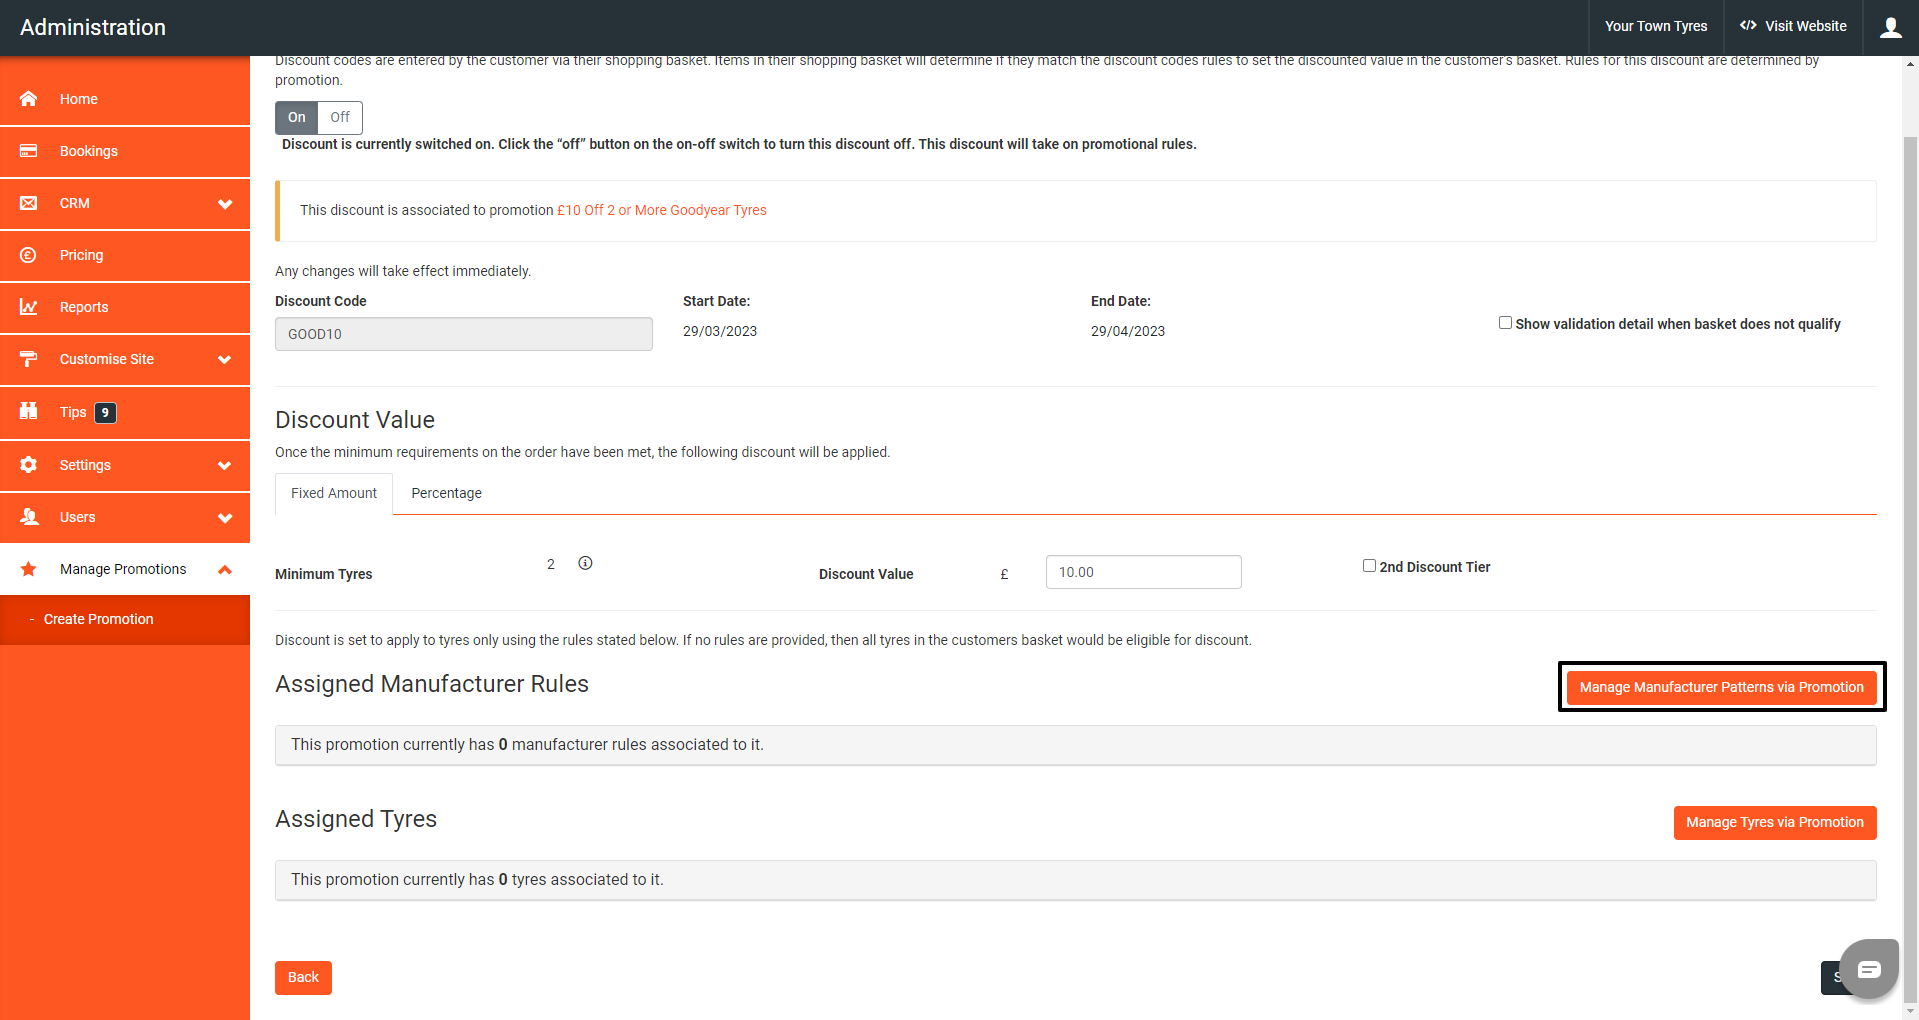
From here, you can now add the manufacturer rules.
For this example, we need to add Goodyear as the promotion is just for Goodyear tyres.
To do this, click Manage Manufacturer Patterns via Promotion.
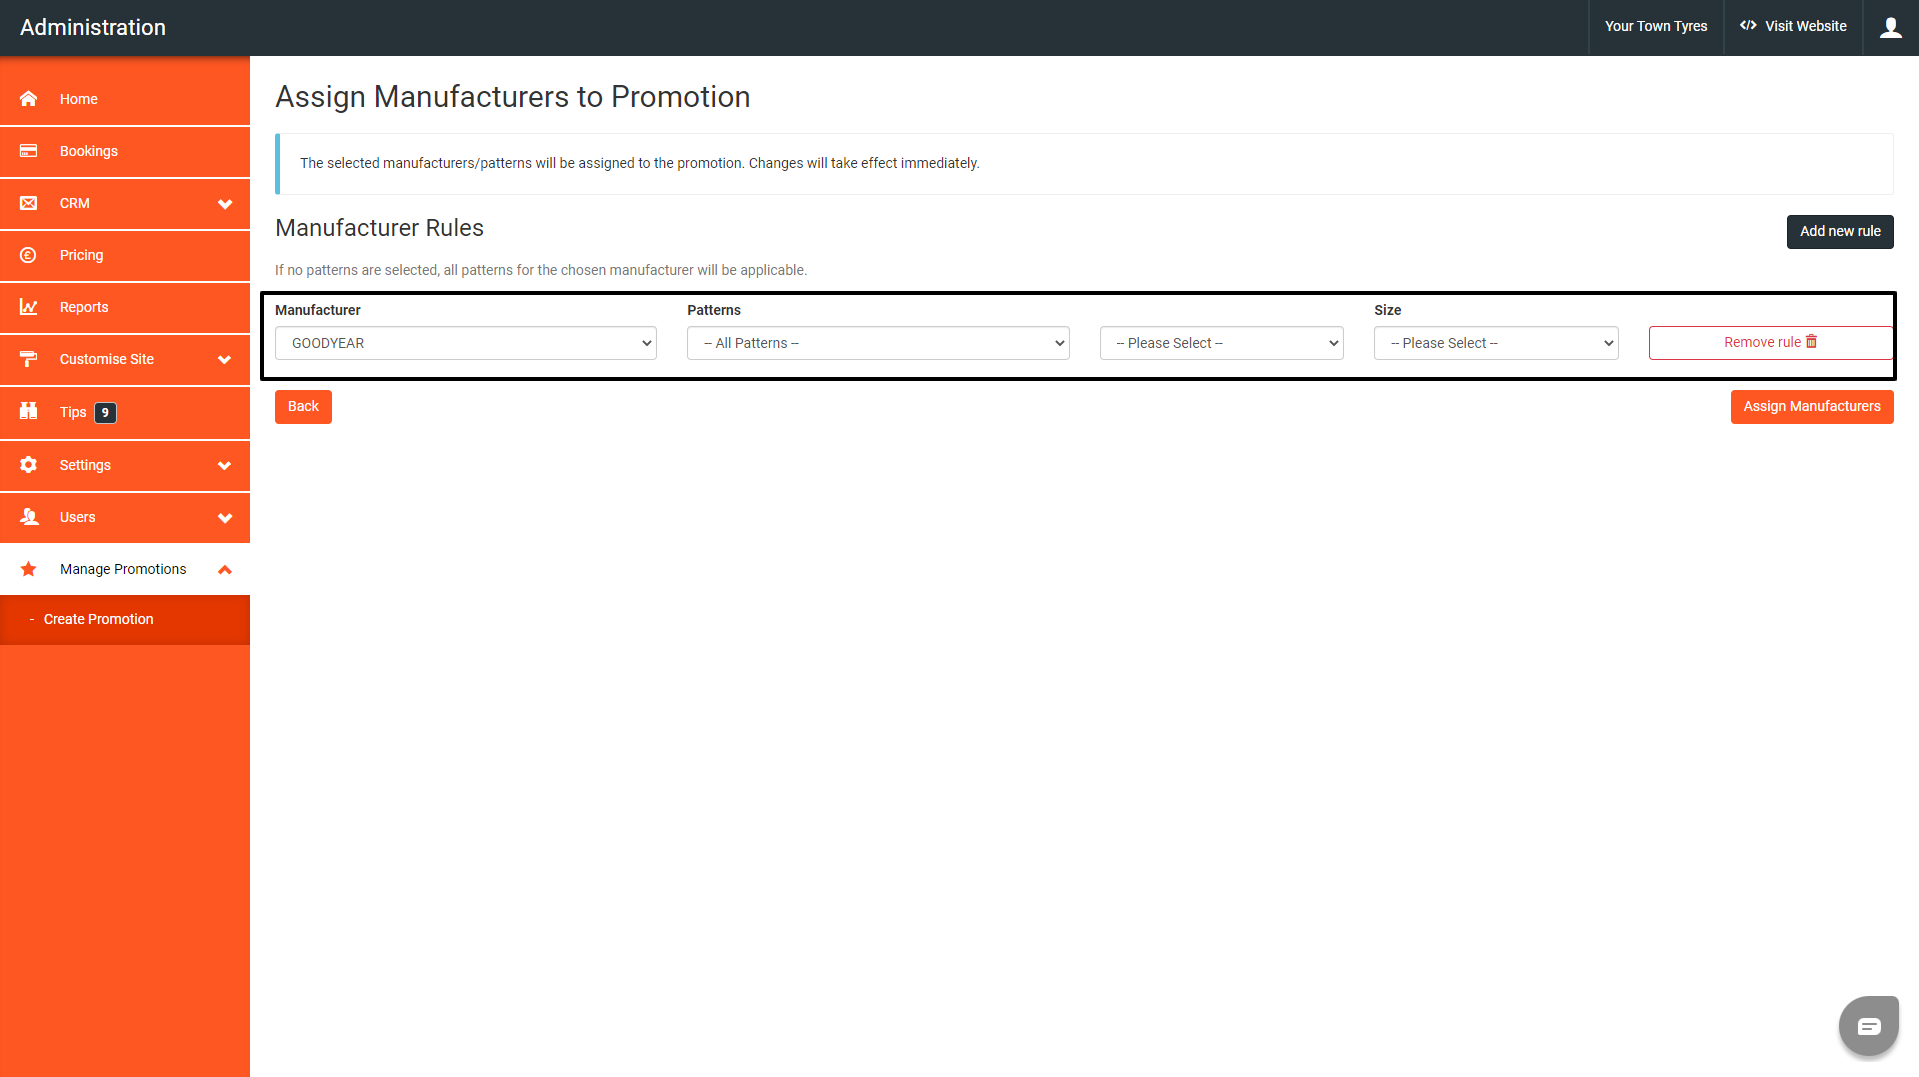
Then, from the Manufacturer drop down, select your manufacturer.
You can be as specific as you want to what type of tyre you would like to discount. So, you have the option to add the pattern, and then the size.
If you are wanting to do all tyres from one manufacturer, leave the rest of the boxes.
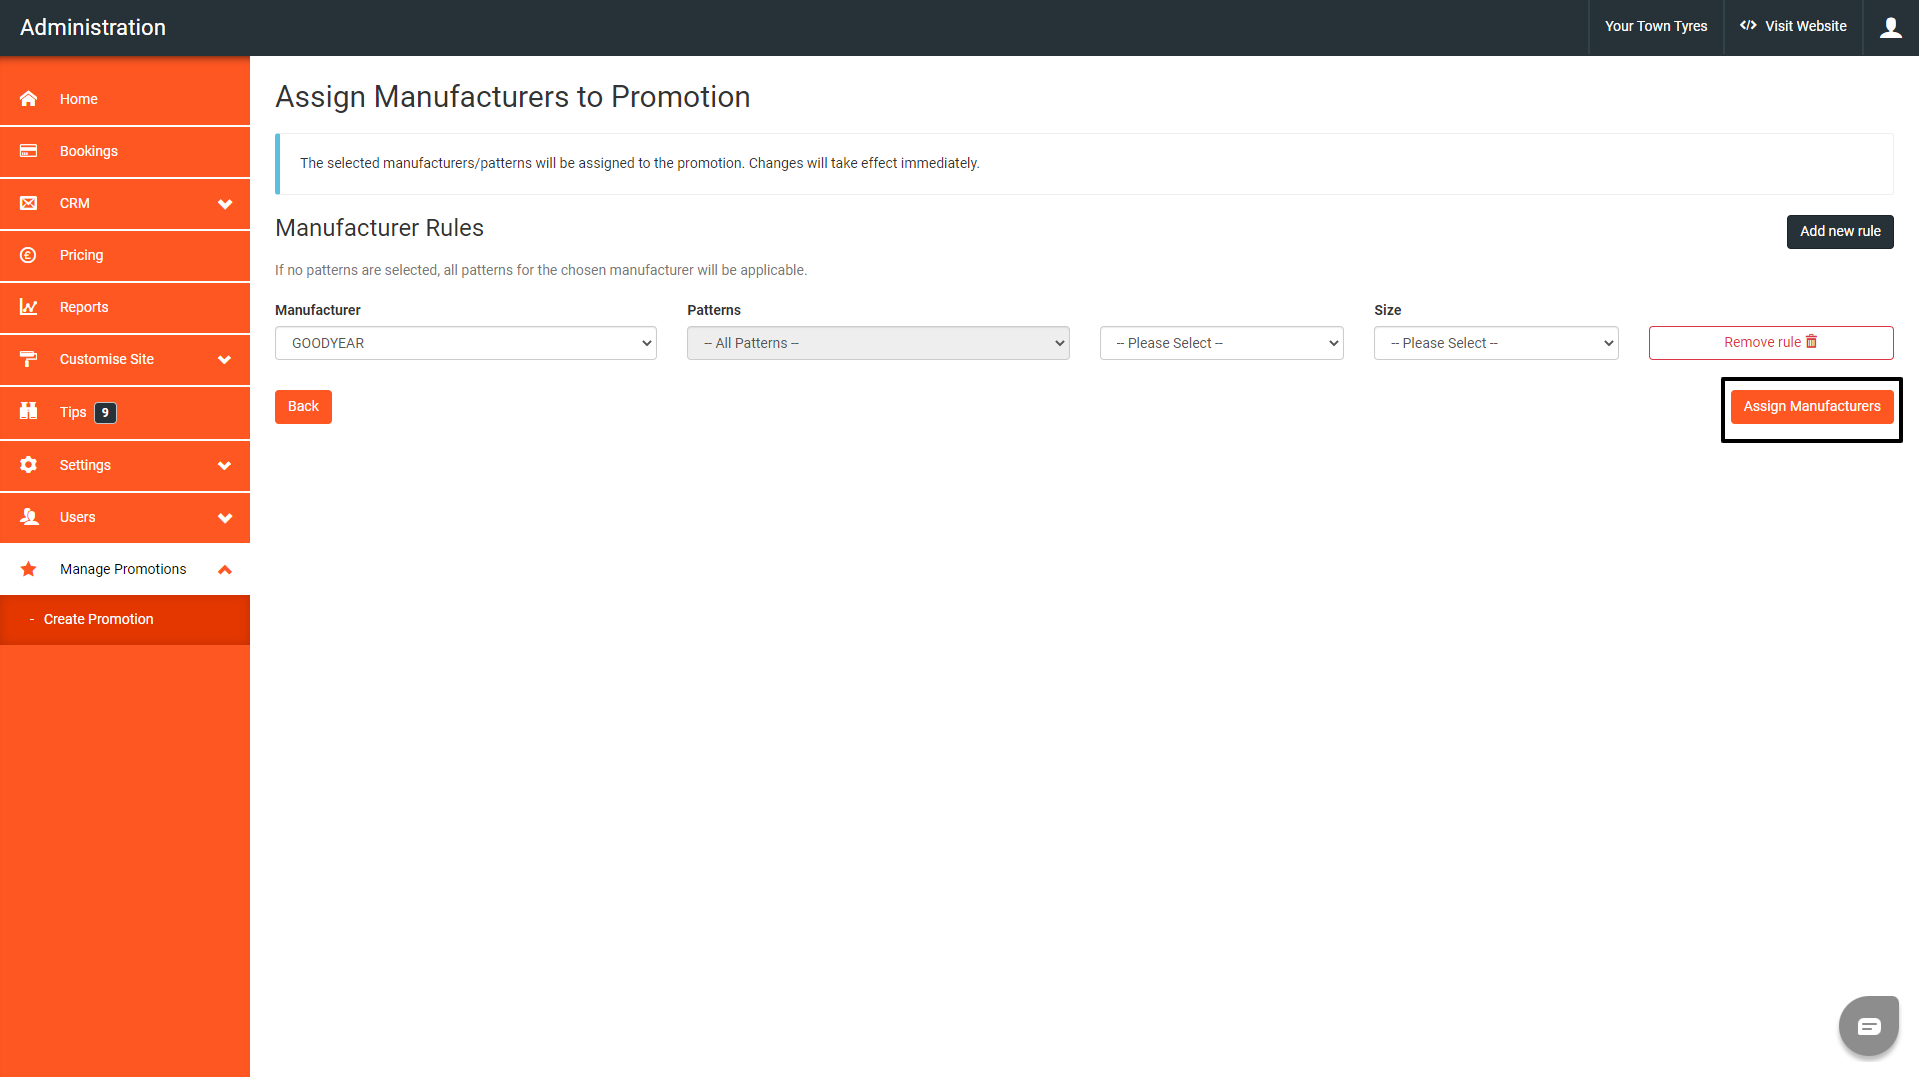
Once you are finished, click Assign Manufacturers.

Then, click save.
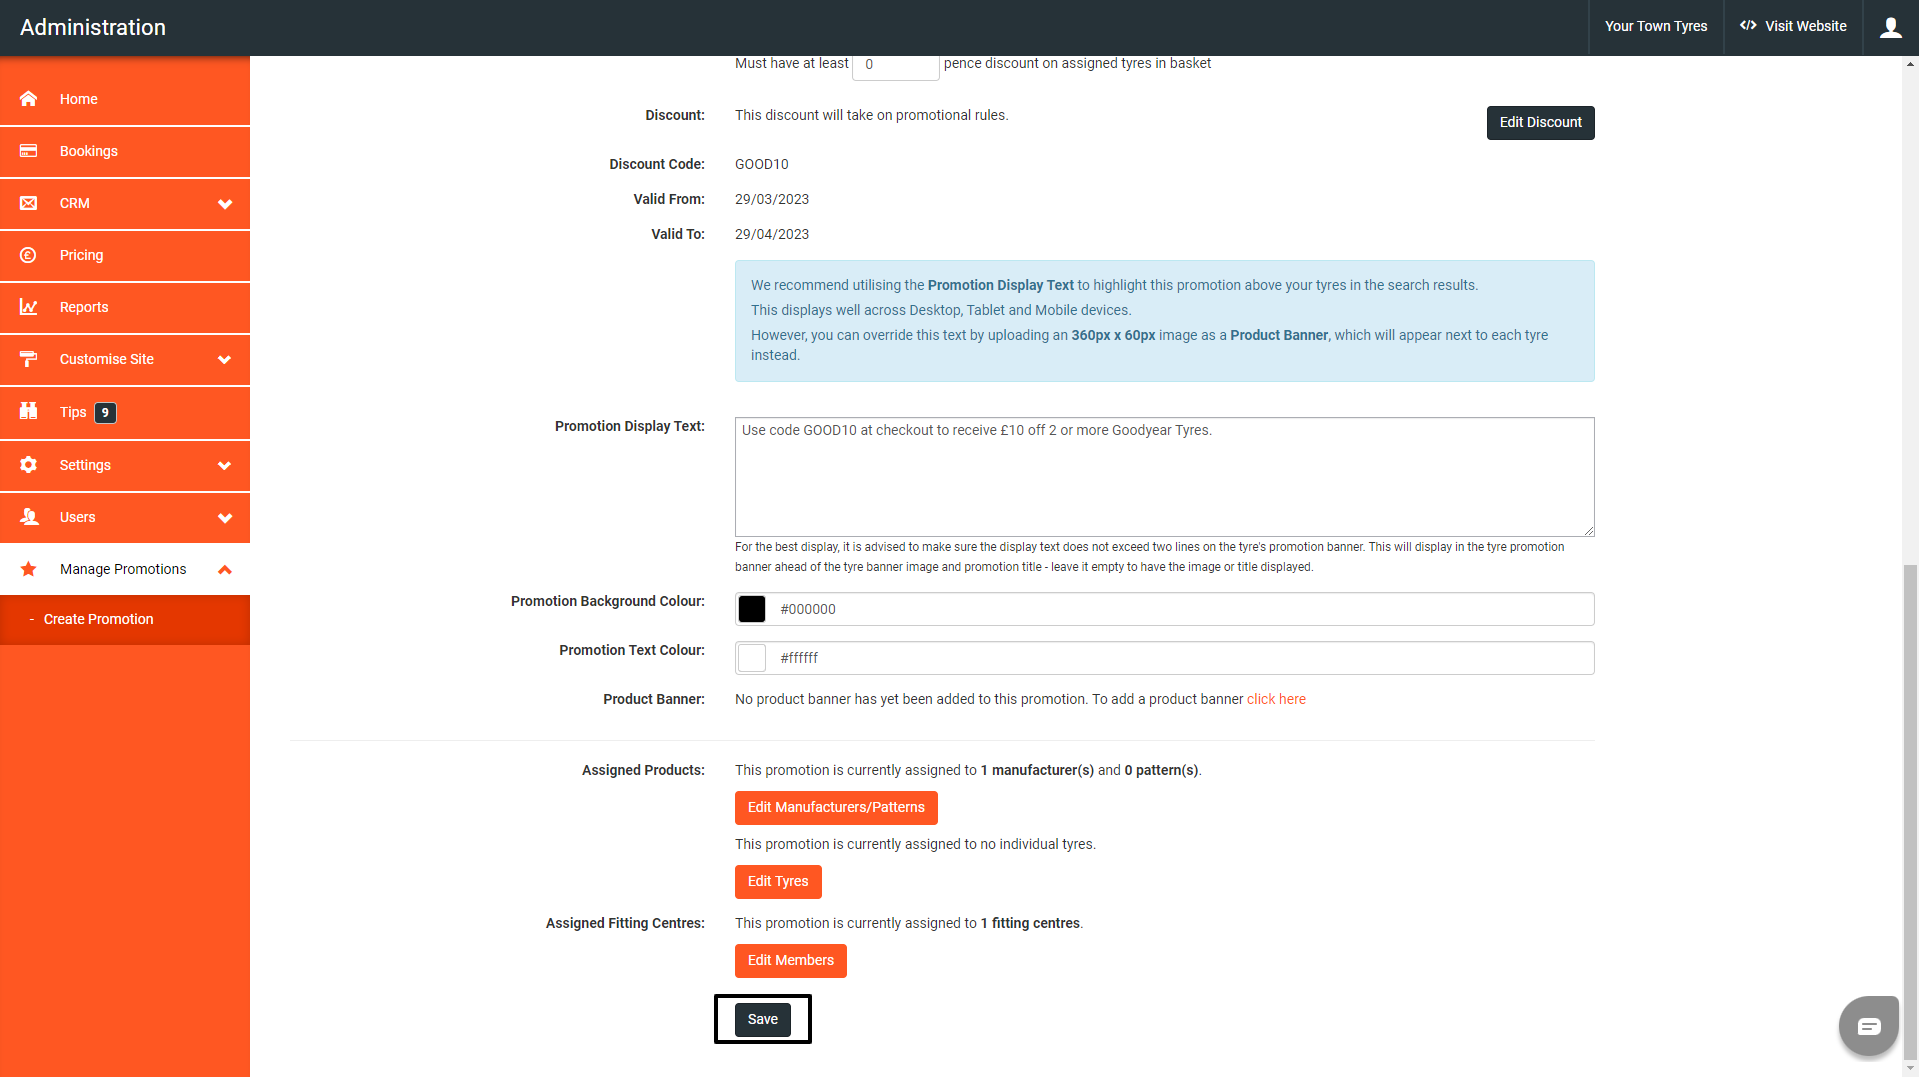
If you are happy with everything, click save again.
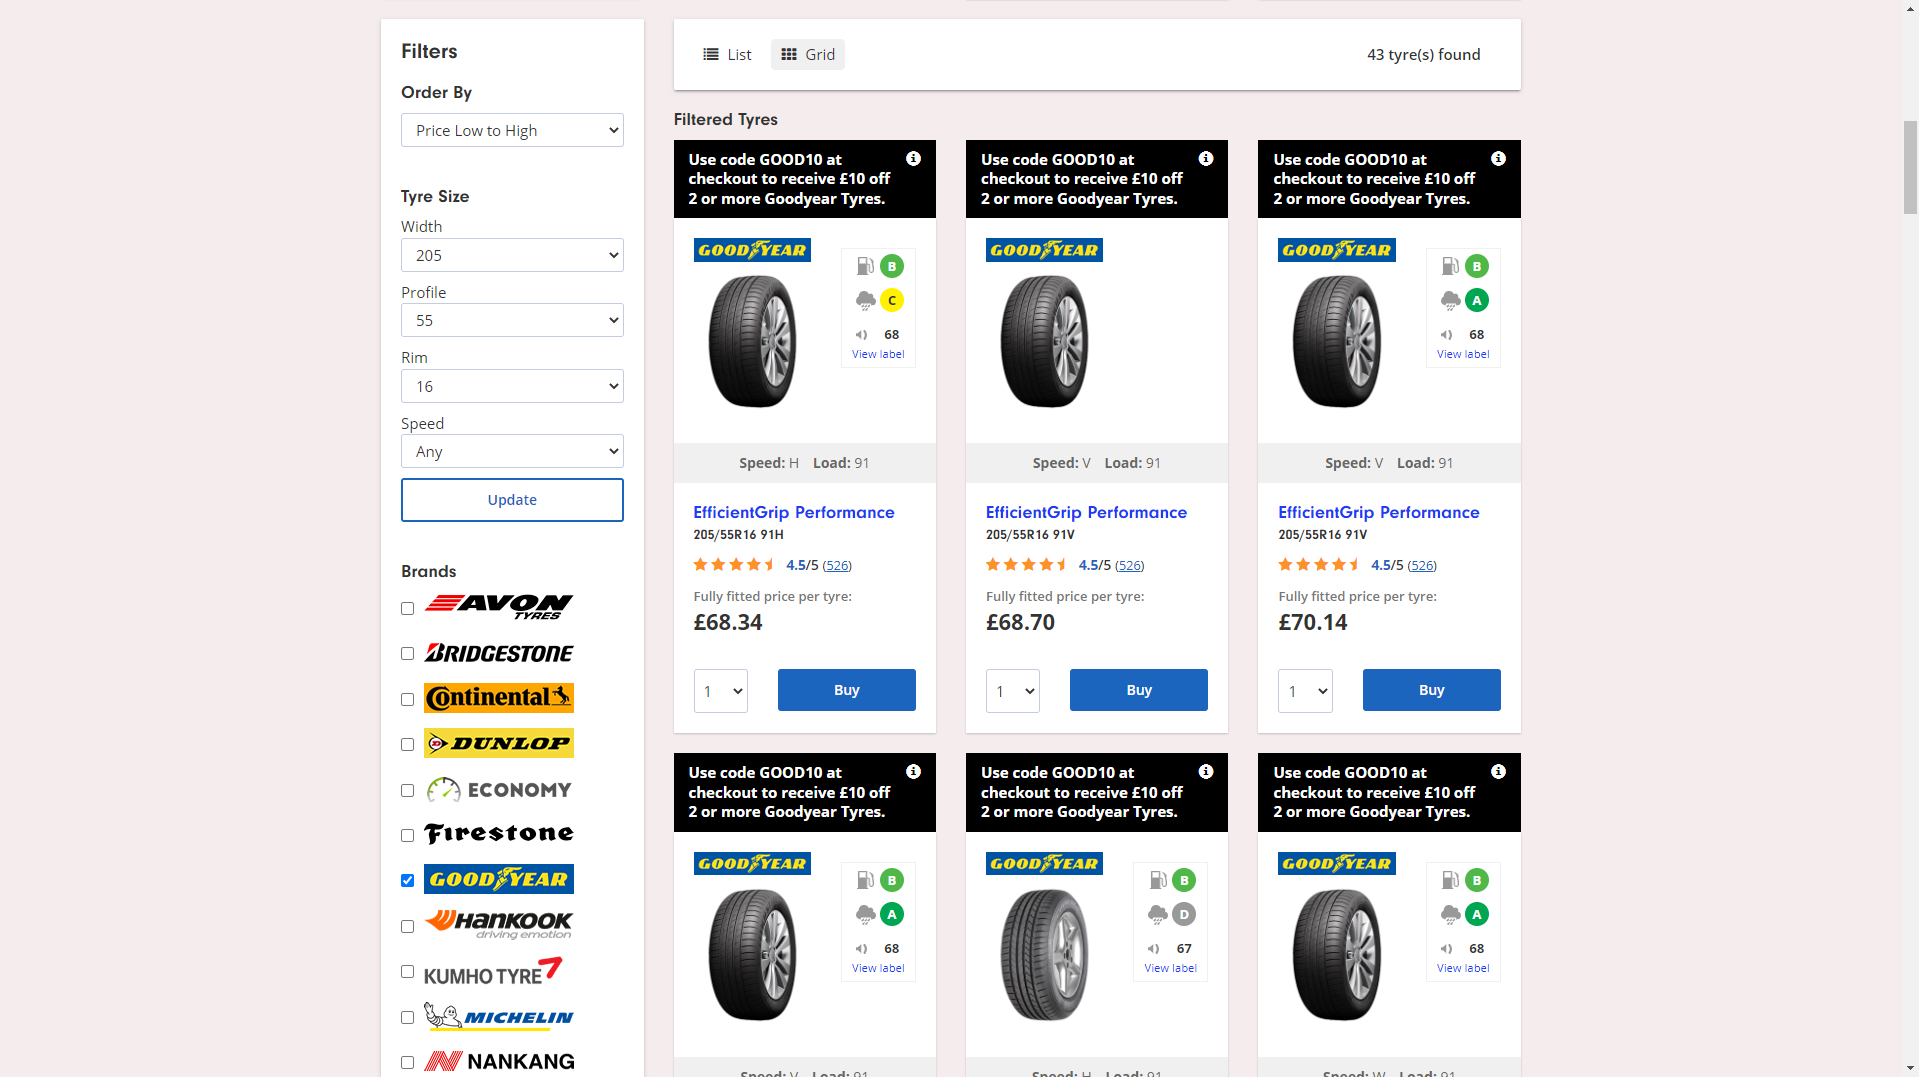
Now, if you do a tyre search, you can see your promotional banner and campaign has been setup.